Hey there, fellow candle enthusiasts! I’m so excited to dive into the beautiful world of soy wax candle-making with you today. My extensive experience with this environmentally conscious wax has yielded many insights I’m eager to impart. Did you know the global soy wax market is expected to reach $4.5 billion by 2026? That’s right – this stuff is hot!

What is Soy Wax and Why Use it for Candle Making?
Okay, let’s start with the basics. Extracted from the oil of soybeans, this plant-based wax offers an alternative to traditional options. It’s been around since the early 1990s but has taken off recently. And let me tell you, once I discovered soy wax, there was no going back to paraffin for me!
Why? Well, for starters, soy wax is biodegradable and renewable. It’s like the superhero of the candle world – saving the planet one flicker at a time! Plus, it burns cleaner and longer than paraffin wax. No more black soot on my walls or weird chemical smells – hallelujah!
But here’s the real kicker – soy wax has a fantastic scent throw. That means your candles will fill the room with fragrance even when not lit. This option truly maximizes the value of your investment.
Choosing the Right Soy Wax for Your Candles
Understanding soy wax selection requires careful consideration. The market offers various soy wax formulations, and selecting the appropriate type is crucial for successful candle crafting. My missteps have underscored the importance of this choice.
First up, you’ve got your pure soy wax. This is 100% soybean oil, and it’s excellent for container candles. Then there’s soy blend wax, which mixes soy with other natural waxes like beeswax or coconut. These can be easier to work with but might not be as eco-friendly.
When I’m picking my soy wax, I always consider a few key factors:
- Melt point: Higher melt points are better for warmer climates.
- Fragrance load: How much scent can the wax hold?
- Ease of use: Some waxes are easier to work with than others.
Essential Equipment
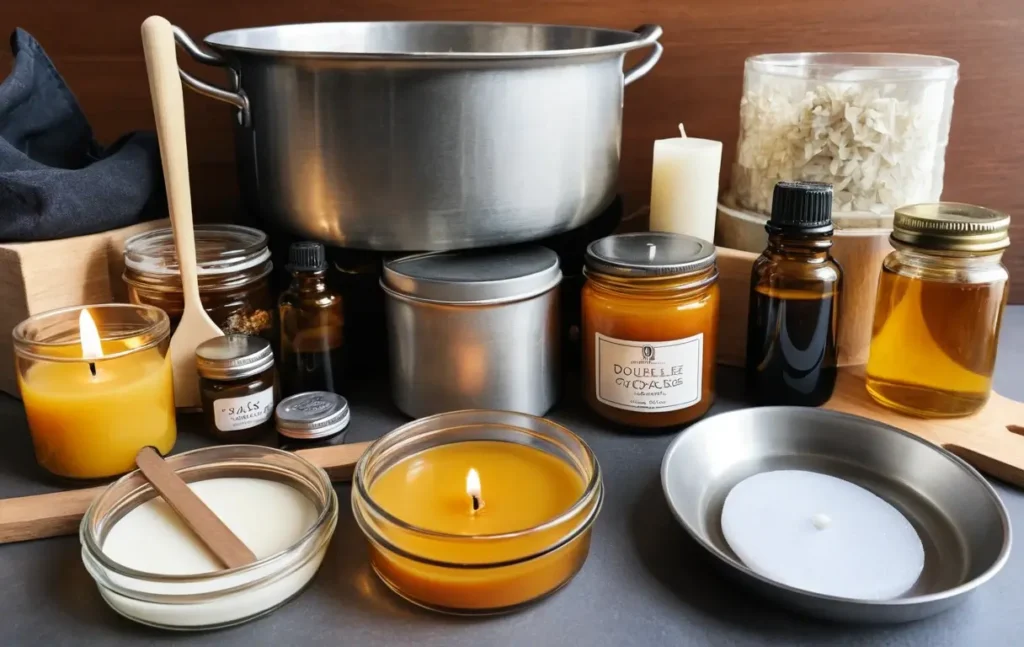
Alright, time to talk tools! I thought I could get by with a pot and a spoon when I started. Oh, how naive I was! Here’s what you need:
- Double boiler or wax melter (Trust me, it’s worth the investment)
- Thermometer (accuracy is vital!)
- Pouring pot
- Stirring utensils (wooden or silicone)
- Wick centering devices
- Scale for measuring
And don’t forget safety gear! Protective thermal gloves and accessible fire safety equipment are essential for my workspace setup. Better safe than sorry, right?

Step-by-Step Guide to Making Soy Wax Candles
Okay, let’s get to the fun part – making the candles! Here’s my tried-and-true Process:
- Measure your wax. I usually use about 1 oz of wax per 1 oz of container volume.
- Melt the wax in your double boiler or melter. Watch that thermometer – you want to hit about 185°F (85°C).
- Once melted, remove from heat and let it cool to about 160°F (71°C). This is when I add my fragrance oil – usually about 1 oz per pound of wax.
- Stir gently for 2 minutes. Don’t go crazy here – overstirring can cause air bubbles!
- Let the wax cool to about 135°F (57°C) before pouring. This is crucial for getting a smooth top!
- Pour slowly and steadily into your prepared containers.
- Allow at least one full day for your newly crafted candles to set appropriately before their inaugural lighting. I know it’s hard to wait, but it’s worth it!
Troubleshooting Common Soy Wax Candle Issues
Even with all the proper steps, things can still go wrong. But don’t worry, I’ve been there and got solutions!
The frosting is a big one with soy wax. It looks like a white, crystal-like layer on your candle. It’s harmless but not always pretty. To minimize it, try pouring at a lower temperature or using a slower cooling Process.
Wet spots are another common issue. These appear as translucent areas along the candle’s surface where the wax has separated from the container. Usually, this means your wax cooled too quickly. Try preheating your containers next time.
And don’t get me started on tunneling! This occurs when the melting pattern creates a vertical channel, resulting in unused wax accumulation along the container walls. The fix? Match your container dimensions with the appropriate wick diameter and wax composition.
Advanced Techniques for Soy Wax Candle Making
“Once you’re comfortable with the basics, let your creativity shine!” I love experimenting with different techniques to make my candles stand out.
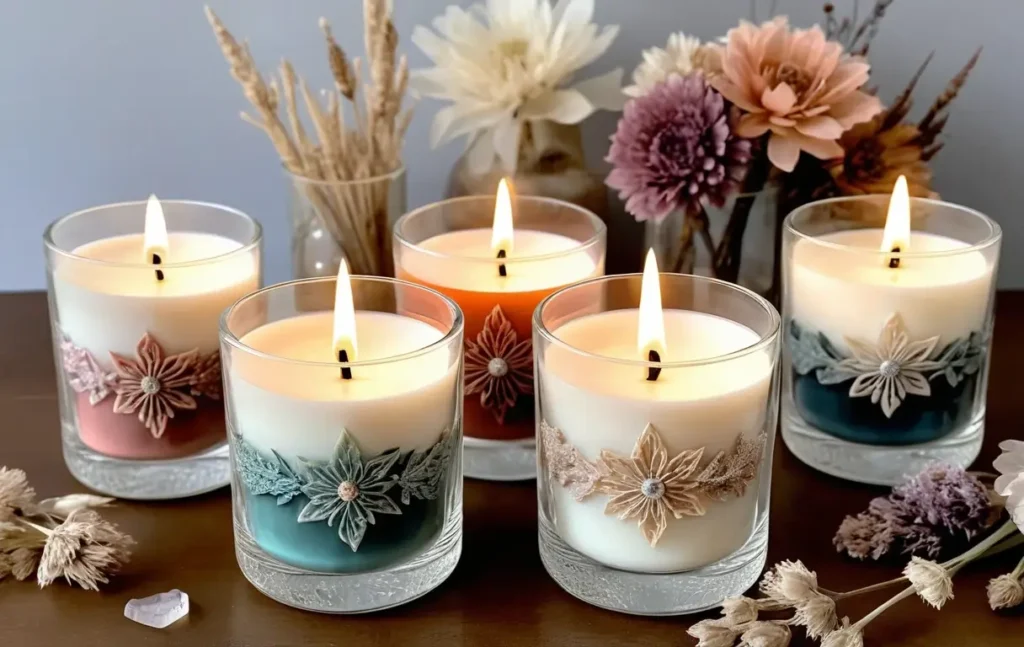
Layered candles are a great way to combine colors and scents. Just pour each layer at a slightly cooler temperature than the last to prevent bleeding.
Embedding objects like dried flowers or crystals can create stunning effects. Ensure all decorative elements are positioned away from the wick’s burning area for safety.
And don’t be afraid to think outside the container. I’ve made candles in teacups, coconut shells, and even hollowed-out books!
Conclusion

Whew! We’ve covered a lot of ground, haven’t we? From choosing the suitable wax to troubleshooting common issues, you’re now armed with all the knowledge you need to start your soy wax candle-making journey.
Remember, practice makes perfect. Don’t get discouraged if your first few attempts.
Above all, approach this creative Process with enjoyment and exploration. Experiment, be creative, and enjoy the Process. The joy of illuminating a candle that’s your creation brings a unique sense of accomplishment.
So, what are you waiting for? Grab that soy wax and start melting! And hey, if you come up with any excellent techniques or tips, drop them in the comments below. I’m always looking to learn new tricks!
Happy candle-making, everyone!

