Ah, candle wicks – the unsung heroes of the candle world! You know, I used to think a wick was just a wick. Boy, was I wrong! It wasn’t until I set my kitchen curtains on fire with a poorly chosen wick that I realized there’s so much more to these little strings than meets the eye. (Don’t worry, the curtains survived… mostly.)
Did you know that the global candle market is expected to reach $13.72 billion by 2026? That’s a whole lot of wicks! Whether you’re a DIY candle maker or just someone who loves a good scented candle, understanding wicks is crucial. They’re not just there to look pretty – they’re the heart and soul of every candle, determining how it burns, how long it lasts, and even how safe it is.
In this guide, we’re going to dive deep into the world of candle wicks. Trust me, after my fiery mishap, I’ve become something of a wick wizard (if I do say so myself). So, grab your favorite candle, light it up (safely!), and let’s get this wick-ed adventure started!
Understanding Candle Wicks: Types and Materials
Let me tell you, when I first started making candles, I thought all wicks were created equal. Ha! That’s like saying all shoes are the same – try running a marathon in flip-flops, and you’ll see what I mean!
There are actually several types of candle wicks out there, each with its own personality (yeah, I anthropomorphize wicks – don’t judge me). Let’s break ’em down:
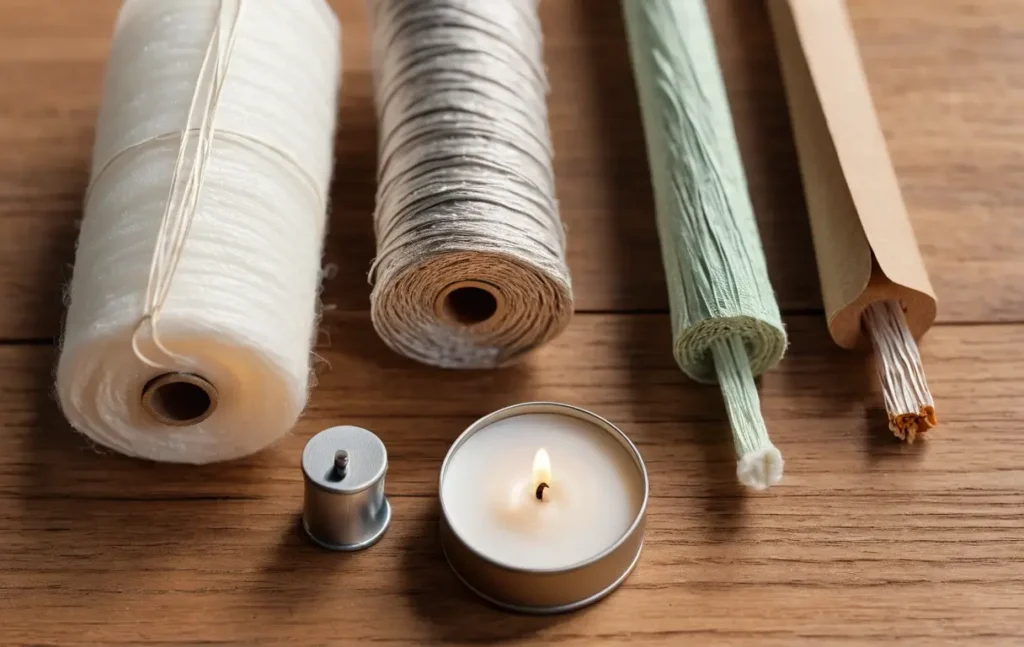
Cotton Wicks
These are the old reliable of the wick world. These wicks are the cornerstone of candle-making, known for their consistency and reliability. Cotton wicks are natural, affordable, and work well with most wax types. I love using them for my soy candles – they burn clean and steady.
Wood Wicks
Ah, the hipsters of the Wick family. They make that cozy crackling sound that reminds you of a fireplace. I once made a batch of wood-wick candles for a camping-themed party – they were a hit! Just be prepared for a bit of a learning curve when it comes to getting them to burn evenly.
Zinc-Core Wicks
Think of these as cotton wicks with a backbone. The zinc core helps the wick stand up straight, which is great for container candles. I discovered these after my fifth attempt at making jar candles ended with a sad, droopy wick.
Paper Wicks
These are less common, but they’re gaining popularity among eco-conscious candle makers. They burn cleanly and are biodegradable. I tried them once and felt like Mother Nature herself was giving me a high-five.
Now, let’s talk materials. Most wicks are made from cotton, but you might also come across:
- Hemp: Great for vegetable-based waxes
- Linen: Burns hot and works well with beeswax
- Wood: Usually made from cherry or beechwood
Remember, the type of candle wicks you choose can make or break your candle. Trust me, nothing’s more disappointing than a beautiful candle that tunnels or drowns because of a mismatched wick. But don’t worry – we’ll get into choosing the right wick next. Stick with me, and you’ll be a wick whiz in no time!
Choosing the Right Candle Wicks for Your Candle
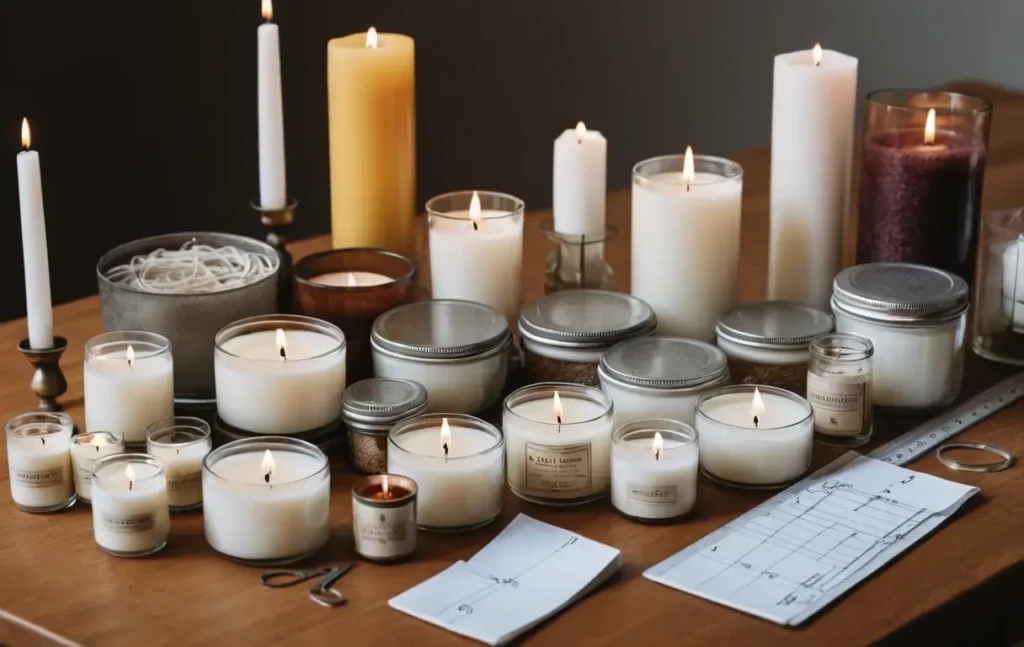
Alright, buckle up, buttercup – it’s time to talk about choosing the right candle wicks. This is where things get a bit technical, but don’t worry; I’ll break it down like I’m explaining it to my cat (who, by the way, is surprisingly interested in my candle-making).
First things first: size matters. And I’m not just talking about length here. The diameter of your wick is crucial. Too small, and your candle will tunnel faster than a mole on a mission. Too big, and you’ll have a bonfire in a jar. Neither is ideal, trust me.
Here’s a quick rule of thumb I learned the hard way:
- For every 1-inch diameter of your candle, you typically need to go up one wick size.
Navigating the Candle-Making Conundrum: Tips for Wick Success
But wait, there’s more! (I sound like an infomercial, don’t I?) You also need to consider:
- Wax type: Different waxes melt at different temperatures. Soy wax, for example, tends to melt at a lower temp than paraffin. So, you might need a slightly larger wick for soy to ensure a good melt pool.
- Additives: Adding stuff to your wax? That can affect how it burns. I once added too much fragrance oil and ended up with a candle that burned like a torch. Not my finest moment.
- Container material: Glass, ceramic, metal – they all conduct heat differently. The choice of container material influences the candle’s burning characteristics and performance.
- Desired scent throw: Want a stronger scent? You might need a larger wick to create a bigger melt pool.
Now, here’s a pro tip I picked up after many, many (many) failed attempts: always test your candle wick choice. Make a small batch, light it up, and observe. Does it create a full melt pool? Is the flame too high? Is it smoking? Adjust accordingly.
Oh, and here’s something I wish someone had told me earlier: wick labels can be confusing. ECO, CD – it’s like alphabet soup! These letters usually refer to the type and size of the wick. For example, ECO wicks are designed for natural waxes, while CD wicks work well with paraffin.
Remember, choosing the right wick is part science, part art, and a whole lot of trial and error. Initial setbacks are common and should be viewed as learning opportunities. Even candle-making pros sometimes get it wrong. The key is to keep experimenting until you find that perfect match. And when you do? It’s pure magic – like finding the right dance partner, but less sweaty and more fragrant.
Proper candle wicks maintenance and Trimming
Okay, folks, gather ’round for some real talk about wick maintenance. It’s not the sexiest topic, I know, but trust me, it’s crucial. Think of it like dental hygiene for your candles – a little care goes a long way.
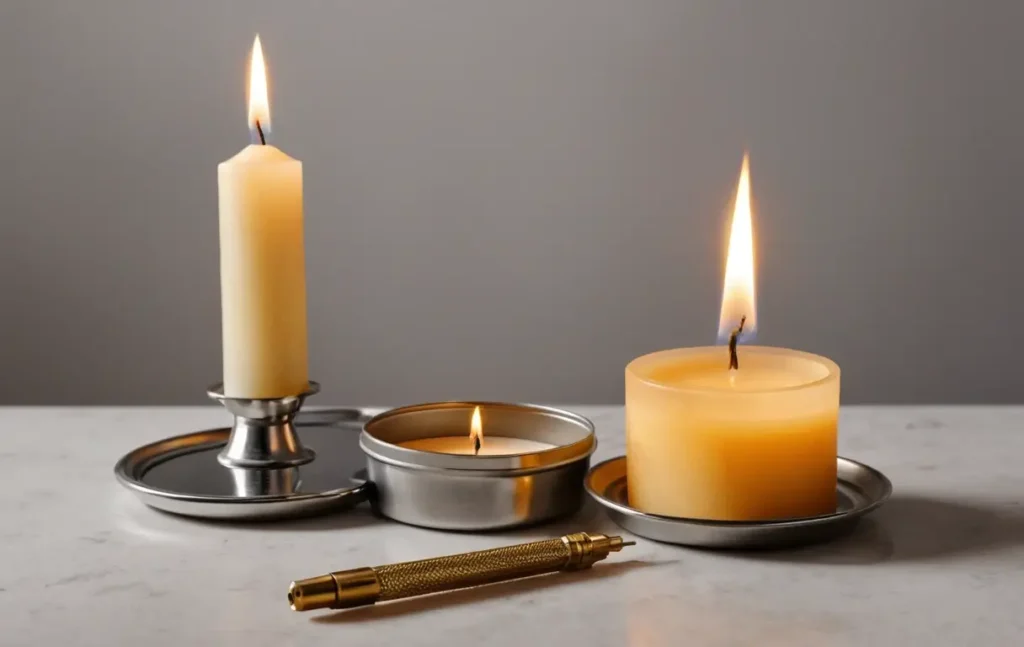
First up: trimming. I used to think this was just some fancy candle-maker mumbo jumbo. Then I left an untrimmed candle burning and came back to find my living room looking like a smoky jazz club. Not cool, man.
Here’s the deal: you should trim your wick to about 1/4 inch before each burn. Why? Well, a too-long wick can cause:
- Excessive smoke
- Uneven burning
- Faster wax consumption
- A bigger, potentially dangerous flame
I know what you’re thinking: “But how do I trim it without making a mess?” Great question! I’ve tried everything from scissors to nail clippers, but my go-to now is a dedicated wick trimmer. It’s like tiny scissors with a little tray to catch the trimmings. Fancy, right?
Mastering the Art of the First Burn: Tips for Candle Longevity
Now, let’s talk about something that took me way too long to learn: the importance of the first burn. The first time you light a new candle, let it burn until the wax pool reaches the edges of the container. This creates a “memory ring” and helps prevent tunneling in future burns. It’s like imprinting on a baby duck but with wax.
Oh, and here’s a nugget of wisdom I picked up after one too many drowning wicks: always keep the wax pool clear of debris. Those little bits of carbon that sometimes fall off the wick? They’re not just unsightly – they can actually affect how your candle burns. I keep a pair of tweezers handy to fish out any floaters.
Lastly, let’s address the elephant in the room: mushrooming. No, I’m not talking about fungi – I mean when the tip of your wick gets all bulbous and gross. This happens when carbon builds up at the end of the wick. If you see this happening, extinguish the flame, let the candle cool, and trim that sucker off before relighting.
Remember, a well-maintained wick is a happy wick. And a happy wick means a happy candle, which means a happy you. It’s the circle of life, Simba – candle edition.
Common Candle Wicks Problems and Solutions

Alright, gather ’round, candle enthusiasts! It’s time to talk about the dark side of candle-making – the problems. Don’t worry, though. I’ve been through the wick wars, and I’m here to share my battle-tested solutions.
Problem #1: The Drowning Wick
Picture this: you light your candle, excited for that cozy glow, only to find the flame sputtering in a pool of wax-like it’s auditioning for “Titanic.” Been there, done that.

Solution: This usually means your wick is too small for your candle. Try going up a size or two. If it’s just a one-time thing, you can carefully pour out some of the melted wax while the candle is still lit. But be careful – hot wax burns are no joke. Trust me, Personal experience has taught me to exercise extreme caution when handling hot wax.
Problem #2: The Tunneling Candle
Ah, tunneling – the bane of every candle lover’s existence. This is when your candle burns straight down the middle, leaving a sad ring of unused wax around the edges.

Solution: Prevention is key here. Always let your candle burn long enough to create a full melt pool on the first burn. If you’re already dealing with tunneling, try the aluminum foil trick. Wrap foil around the edge of the candle, creating a little dome over the top, but leave a hole for the flame. This helps distribute the heat and melt that stubborn wax.
Problem #3: The Smoky Mess
Nothing ruins a cozy atmosphere faster than a smoking candle. Well, maybe a fire alarm, but that’s usually the next step if you ignore a smoky candle.

Solution: First, check if your wick needs trimming. If that’s not it, your wick might be too large for your candle. Try sizing down. Also, keep your candle away from drafts – they can cause uneven burning and smoking.
Problem #4: The Leaning Tower of Wick-sa
Sometimes, your wick might start to lean to one side as the candle burns. This can lead to uneven burning and wax waste.

Solution: Straighten that bad boy out! When the wax is melted but the candle isn’t lit, use a pair of tweezers to center the wick gently. You can also buy wick-centering tools, but where’s the fun in that?
Problem #5: The Disappearing Flame
Ever lit a candle only to have the flame vanish like a magician’s rabbit? Frustrating, right?

Solution: This often happens when the wick is too short. If you can’t grab the wick with tweezers to pull it up, try carving away some of the wax around the wick to expose more of it.
Remember, every candle is unique, like a waxy snowflake. Each candle may require its own specific approach and materials. Don’t be afraid to experiment, and always, ALWAYS keep safety in mind. No candle is worth setting your curtains on fire. Learn from my mistakes, people!
Safety Considerations for Candle Wicks
Let’s get serious for a moment, folks. We’ve had some laughs, but candle safety is no joke. Trust me, I’ve had my fair share of close calls (RIP, my favorite throw pillow), and I’ve learned that a little caution goes a long way.
First things first: lead wicks. These are a big no-no. In fact, they’ve been banned in the US since 2003. But if you’re buying candles from overseas or using vintage candles, be on the lookout. Lead wicks are usually stiffer than cotton ones and may have a metallic core that shows when burned. If you suspect a lead wick, toss that candle faster than I toss salad (which is to say, not very skillfully, but with great enthusiasm).
Now, let’s talk about flame height. A properly wicked candle should have a flame about 1/2 inch to 1 inch high. Any higher, and you’re in the danger zone. I once had a candle with a flame so high it could’ve roasted marshmallows. It’s not cool and definitely not safe.
Candle Safety: Keep the Glow Without the Risk
Here’s a tip I wish I’d known earlier: always keep your candles away from anything flammable. This includes curtains, books, paper, and, yes, even that chic dried flower arrangement you’re so proud of. A good rule of thumb is to keep a 1-foot radius clear around your burning candle.
Speaking of burning, never leave a candle unattended. I know, I know, it’s tempting to set the mood with some candles and then pop out for a quick errand. But trust me, it’s not worth the risk. I once left a candle burning while I “quickly” ran to the store. Came back to find my cat had knocked it over. Thankfully, it had gone out on its own, but my heart (and my security deposit) might never recover.
Oh, and let’s address the elephant in the room: jar candles. These can be tricky beasts. If you notice your jar candle getting too hot to touch, blow it out immediately. Some people swear by placing jar candles on a heat-resistant surface, like a ceramic tile. It’s not a bad idea, especially if you’re as clumsy as I am.
It’s crucial to store and use candles in areas inaccessible to children and animals. My dog once tried to eat a candle. She’s fine, but my carpet will never be the same.
Remember, a safe candle is a happy candle. And a happy candle means you can enjoy that cozy ambiance without constantly worrying about turning your home into a Burning Man exhibit. Stay safe out there, candle lovers!
DIY Candle Wick Making: A Beginner’s Guide
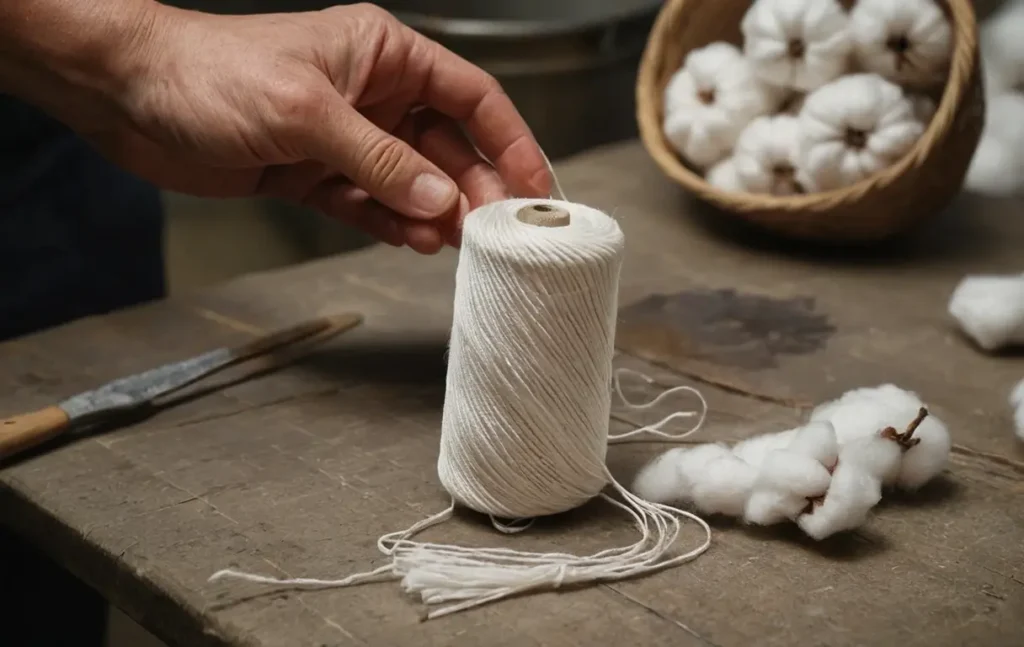
Alright, DIY warriors, it’s time to level up your candle game! Making your own wicks might sound intimidating, but trust me, if I can do it without setting anything on fire (well, anything unintentional), you can too!
First things first: materials. You’ll need:
- Cotton string (100% cotton, mind you)
- Borax (yes, the laundry stuff)
- Salt
- Hot water
- Beeswax or paraffin wax
Now, here’s where the magic happens. Mix about 1 tablespoon each of borax and salt into a cup of hot water. This concoction is your wick treatment. It helps the wick burn more slowly and evenly. Science is cool, right?
Next, soak your cotton string in this mixture for about 24 hours. I know, I know, waiting is hard. But patience is a virtue, especially when it comes to not having your candles burn like Olympic torches.
After soaking, hang your wicks to dry. I once tried to speed up this process with a hair dryer. Let’s just say it didn’t end well, and I smelled like borax for a week.
Once your wicks are dry, it’s time for the wax bath. Melt some beeswax or paraffin in a double boiler (or a DIY version – a heat-safe container in a pot of water works too). Dip your treated and dried wicks into the melted wax, then hang them to cool. Repeat this a few times to build up a nice waxy coating.
Voila! You’ve got yourself some homemade wicks! But wait, there’s more! (Sorry, I can’t help sounding like an infomercial sometimes.)
Wick Wisdom: Crafting Your Perfect Candle Companion
After years of experience, I’ve gathered some valuable insights to share:
- The thickness of your wick matters. Experiment with different string thicknesses to find what works best for your candles.
- If you’re feeling fancy, try braiding three treated strings together before the wax dip. It creates a thicker wick that’s great for larger candles.
- Store your homemade wicks in a cool, dry place. I once left mine in a humid bathroom and ended up with a clump of waxy spaghetti. Not ideal.
- If you’re using your homemade wicks for container candles, don’t forget to attach a wick tab at the bottom. You can buy these online, or if you’re feeling extra crafty, make your own from small metal washers.
- Handcrafted wicks often behave differently from their commercial counterparts. Expect a period of experimentation and adjustment. I like to think of it as candle science experiments – lab coat optional, but highly recommended for style points.
The DIY Wick Experience: Craft, Customize, and Conquer!
You might wonder if making your own wicks is worth the effort compared to buying them. Crafting your own wicks allows for precise customization and fine-tuning of your candle’s performance. Plus, it’s incredibly satisfying. The sense of accomplishment when illuminating a candle with your handcrafted wick is truly unparalleled. Creating your own wicks brings a unique sense of satisfaction, combining creativity with practicality.
Plus, homemade candle wicks can be more eco-friendly. Since you control the materials used, you can select natural and chemical-free ingredients. This approach benefits both the candle maker and the environment.
But here’s the real kicker – customization. Want a wick that burns slower? Add more borax to your soaking solution. Need it to burn hotter? Experiment with different wax coatings. The possibilities are endless! Well, it’s not endless. Let’s be clear: dousing your wicks in lighter fluid or other outlandish substances is strictly off-limits.. Remember, we’re aiming for a cozy ambiance, not pyrotechnics.
In the end, making your own wicks is all about the journey. Sure, there might be some bumps along the way (and maybe a few singed eyebrows), but isn’t that true of all great adventures? So go forth, my fellow wick enthusiasts! Experiment, create, and maybe invest in a fire extinguisher. Just in case.
Conclusion:
Whew! My, what an illuminating adventure we’ve had, wouldn’t you agree? We’ve explored everything from the variety of wick options to resolving typical issues and even ventured into crafting our own homemade wicks. Who knew these little strings could be so complex?
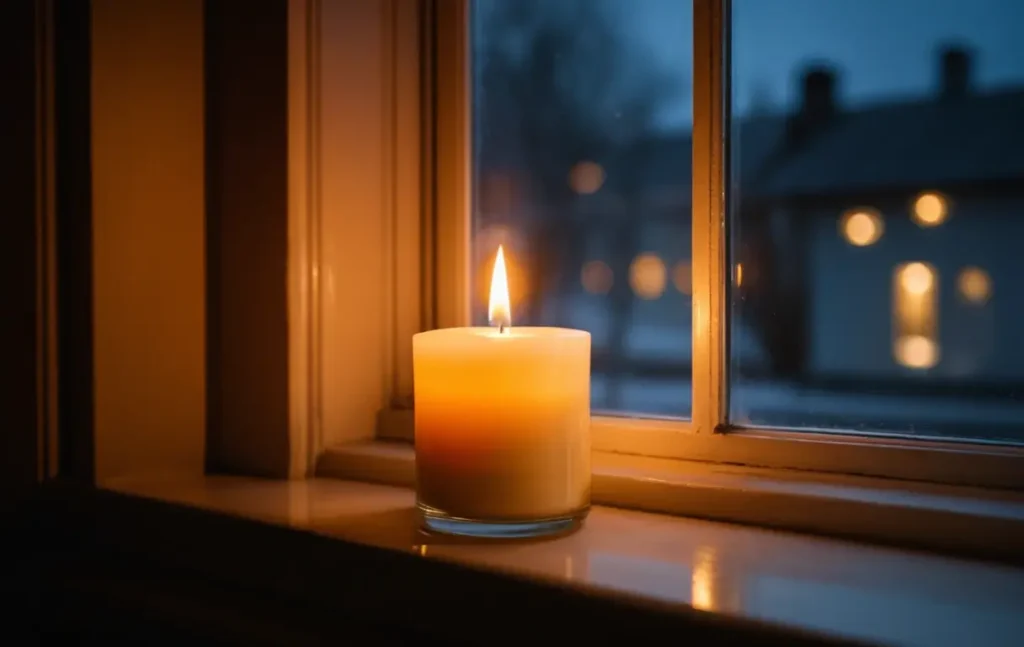
As we wrap up this guide, let me share a final nugget of wisdom I’ve gained through my candle-making adventures: there’s no such thing as the perfect wick for everyone. A technique that yields excellent results for one individual may prove unsuccessful for another. Success in this craft hinges on trial and error, perseverance, and perhaps a touch of aromatic alchemy
Keep in mind, no matter if you’re an occasional candle admirer or a budding wax artisan (that’s the sophisticated term for someone who crafts candles – it’s my go-to conversation starter at gatherings), the secret lies in learning and having fun. Don’t be afraid to try new things, but always prioritize safety. A beautiful, well-burning candle is great, but not at the expense of your eyebrows or curtains!
As we wrap up, consider this: in the vast mosaic of our existence, candle wicks may appear to be just tiny strands. But they have the power to bring warmth, light, and a touch of magic into our homes. Therefore, when you next ignite a candle, pause to acknowledge that small wick. It’s diligently laboring to infuse your environment with a sense of comfort.
Now, go forth and wick responsibly! And if you have any wick-related stories or tips of your own, don’t be shy – share them in the comments below. Remember, we grow most when we share our bright triumphs and smoldering missteps with one another. Happy candle-making, everyone!

